
A Lyre is a stringed instrument without a fretboard. The strings are held under tension, from the tuning head (top) to the bottom attachment point (base) and arching over a bridge that is on the sound box. When you pluck or strum a string, the string vibrates, the bridge resting in the middle of the sound box moves the wood there, creating an amplified resonance that exits the holes.
History of Lyres
There are 2.5 extant physical lyres we have found that predate 1600.
I cover the current history of
- The Sutton Hoo and Dzhetyasar Lyre
- The Kravik Lyre
- The Trossingen Lyre
The Plan
The Build
The build was made in three parts.
- Over the Top – an error
- Carving the Lute Segments
- Stringing the Lute
1 – Over the Top, an error
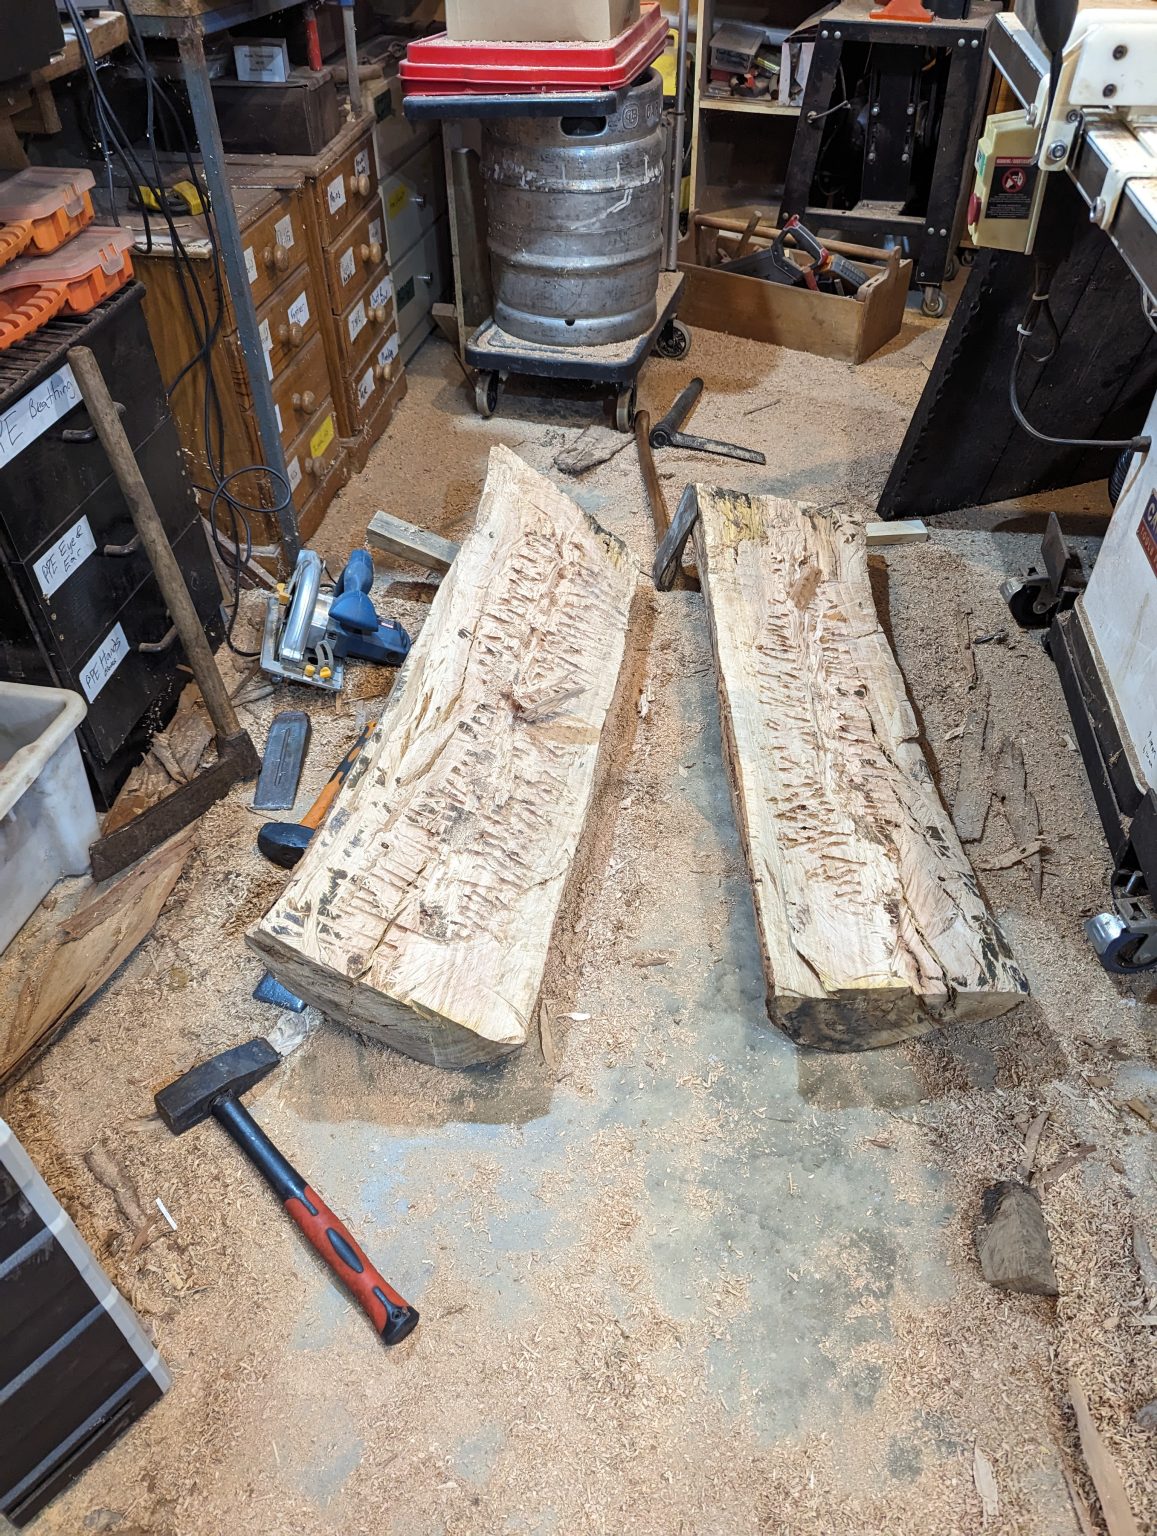
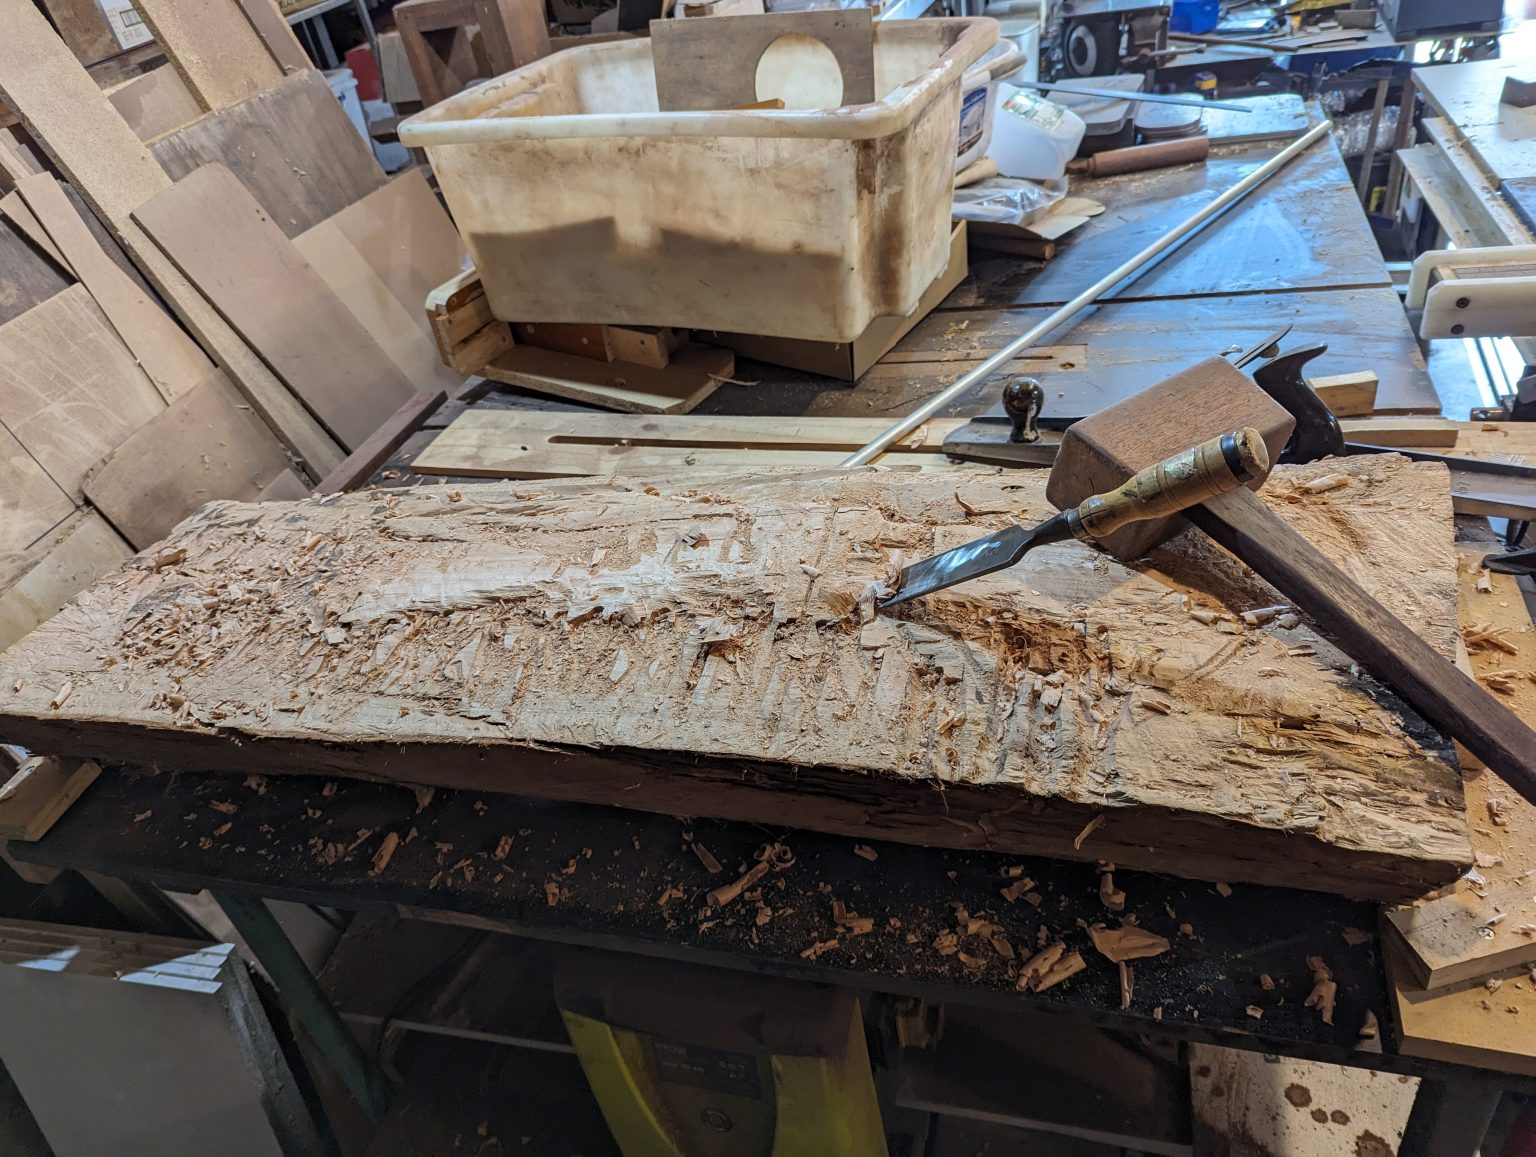
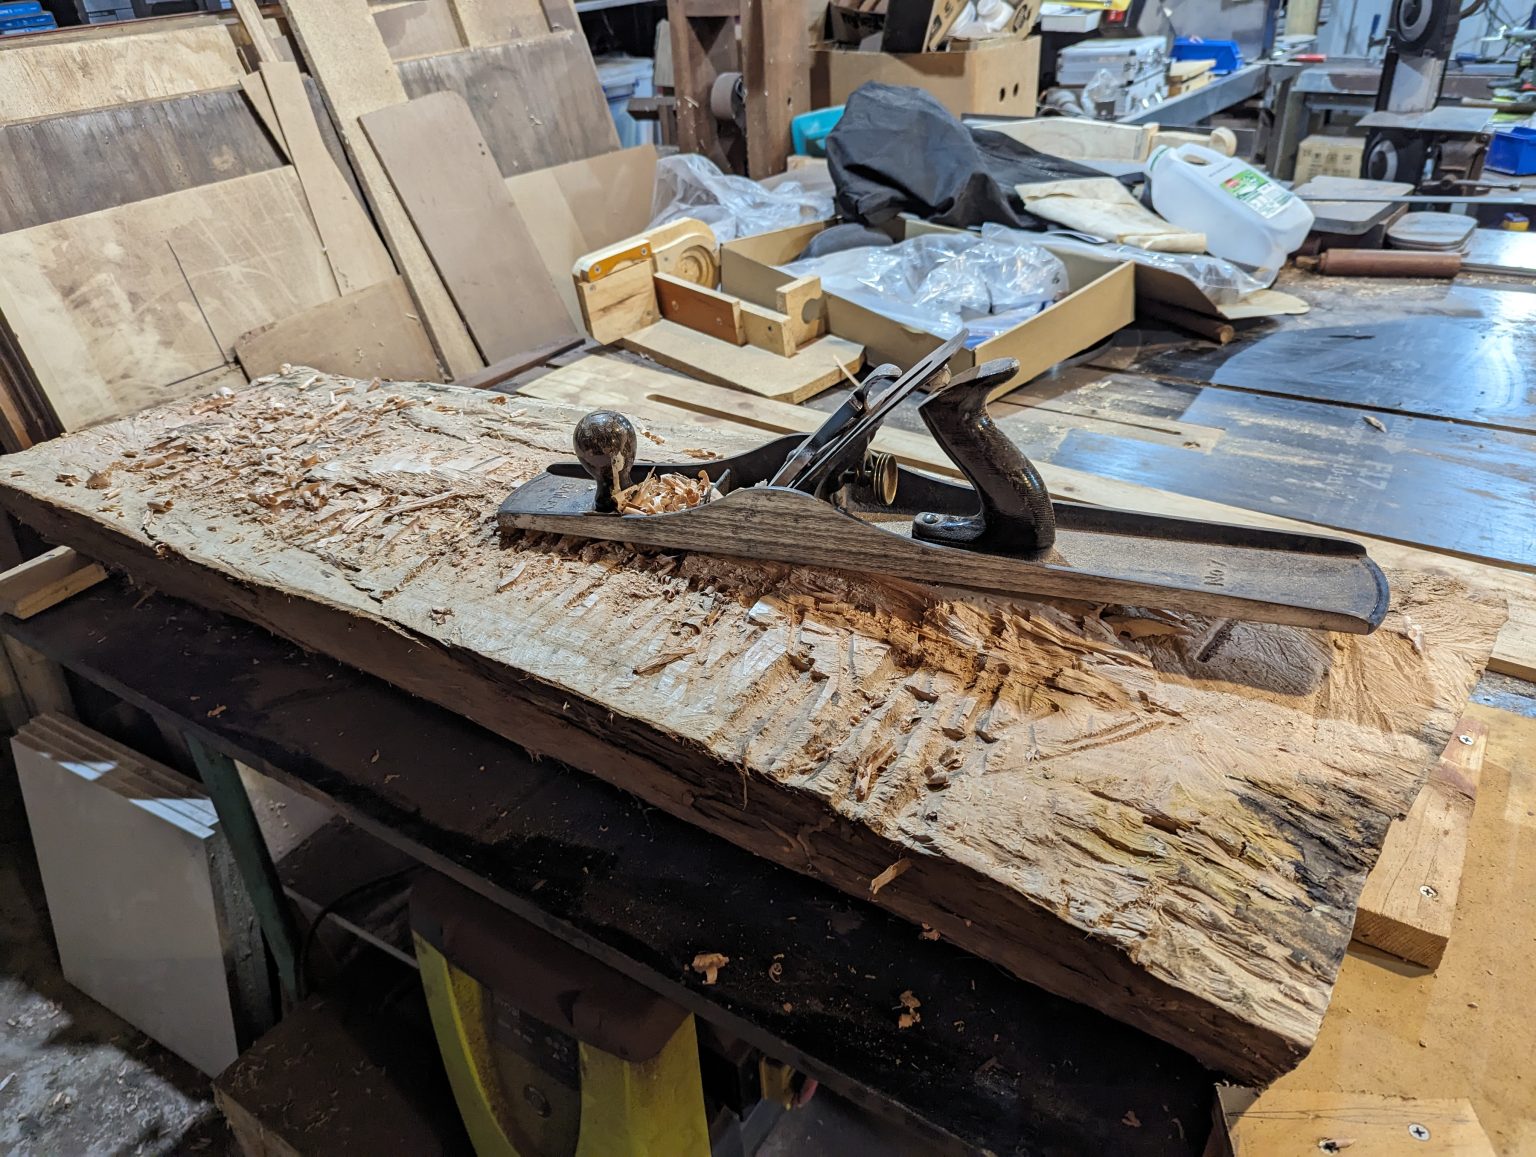
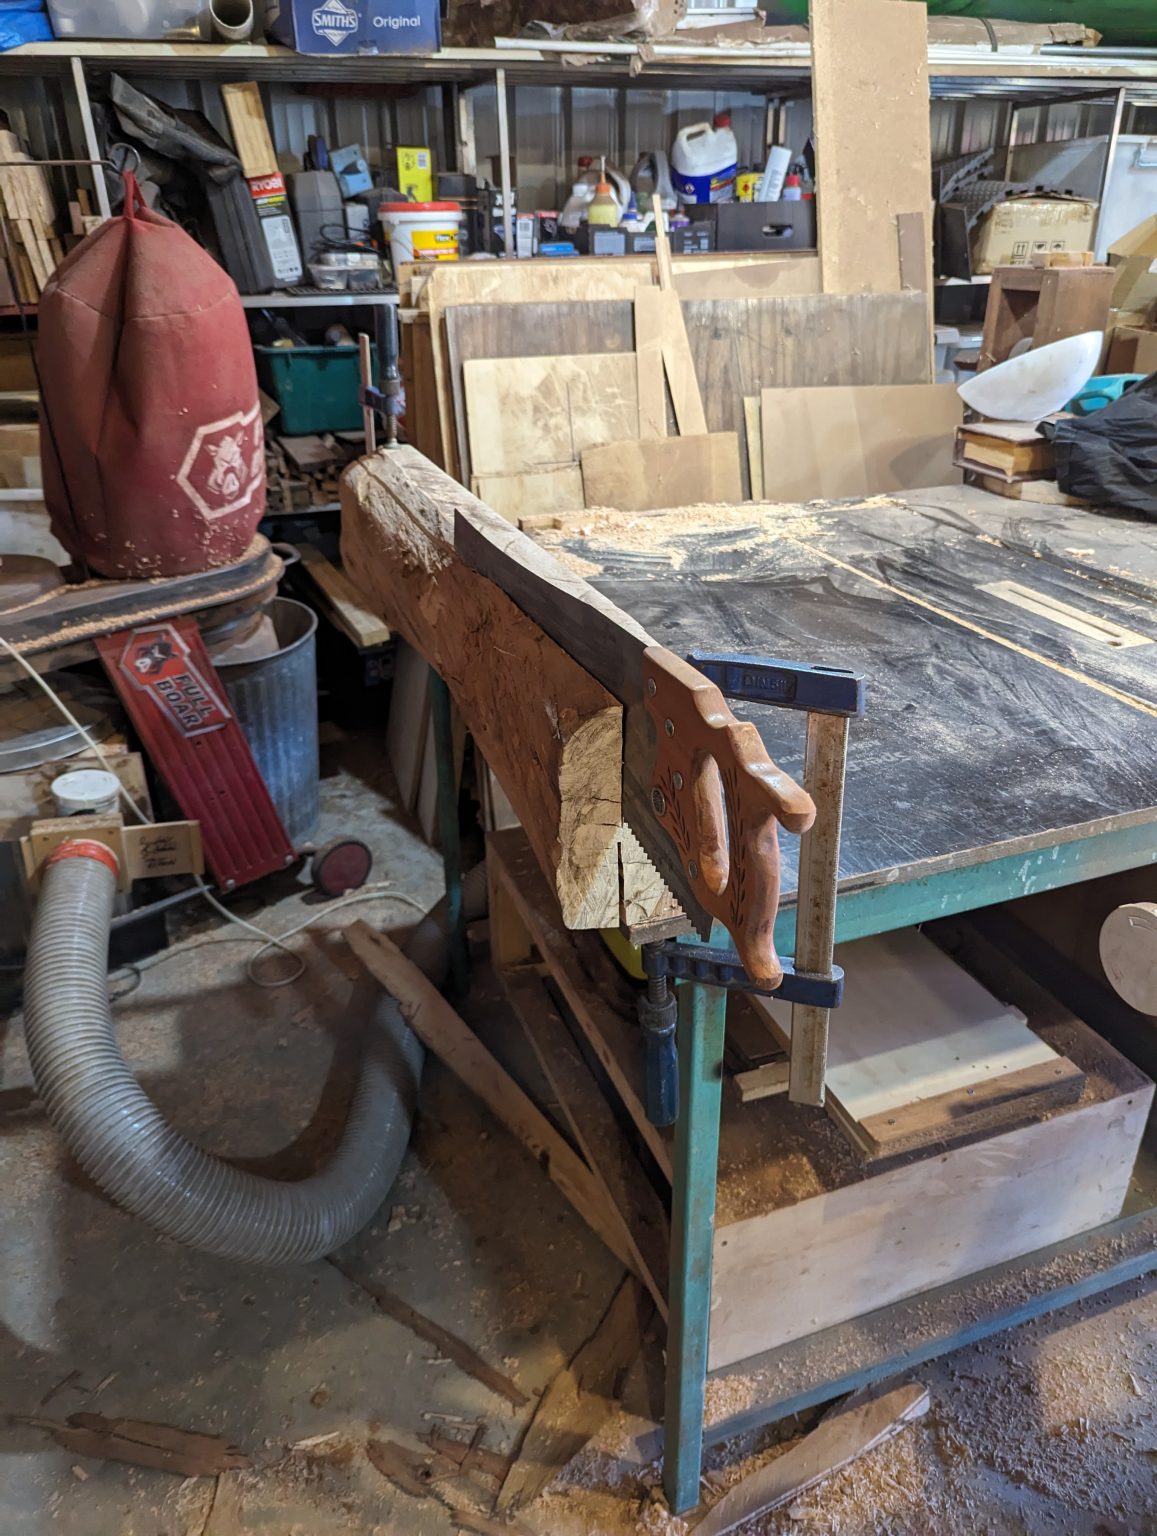
In trying to be as authentic as I can, I spent some time cutting a log in half and trying to plank it. The wood is a native tree, likely River Red Gum. The grain was spiralled around rather than straight. Not only is this wood very hard, the grain made it difficult to work with.
The first picture is the splitting of the log. It really didn’t want to split nicely. I attempted to cut guides for the split, and resorted to drilling the core perpendicullarly so that I could split it. I cleaned up much of the centre with chisel and mallet, before planing with a Number 7 Jack Plane.
Progress was going slowly, but I was making it flat. I cut a plank off with a combination of various saws. Again, this wood was very resistant. The grain in this log was quite twisted.
Once I cut the plank, i noted that there were too many cracks and voids for me to use this as a source material for the lyre. I needed to get a plank that fit the dimensions of the entire lyre inside of it that was free of voids and cracks, so this was a dead end.
I did use some of this wood for making the bridge though, and I intend to use more to make the pegs.
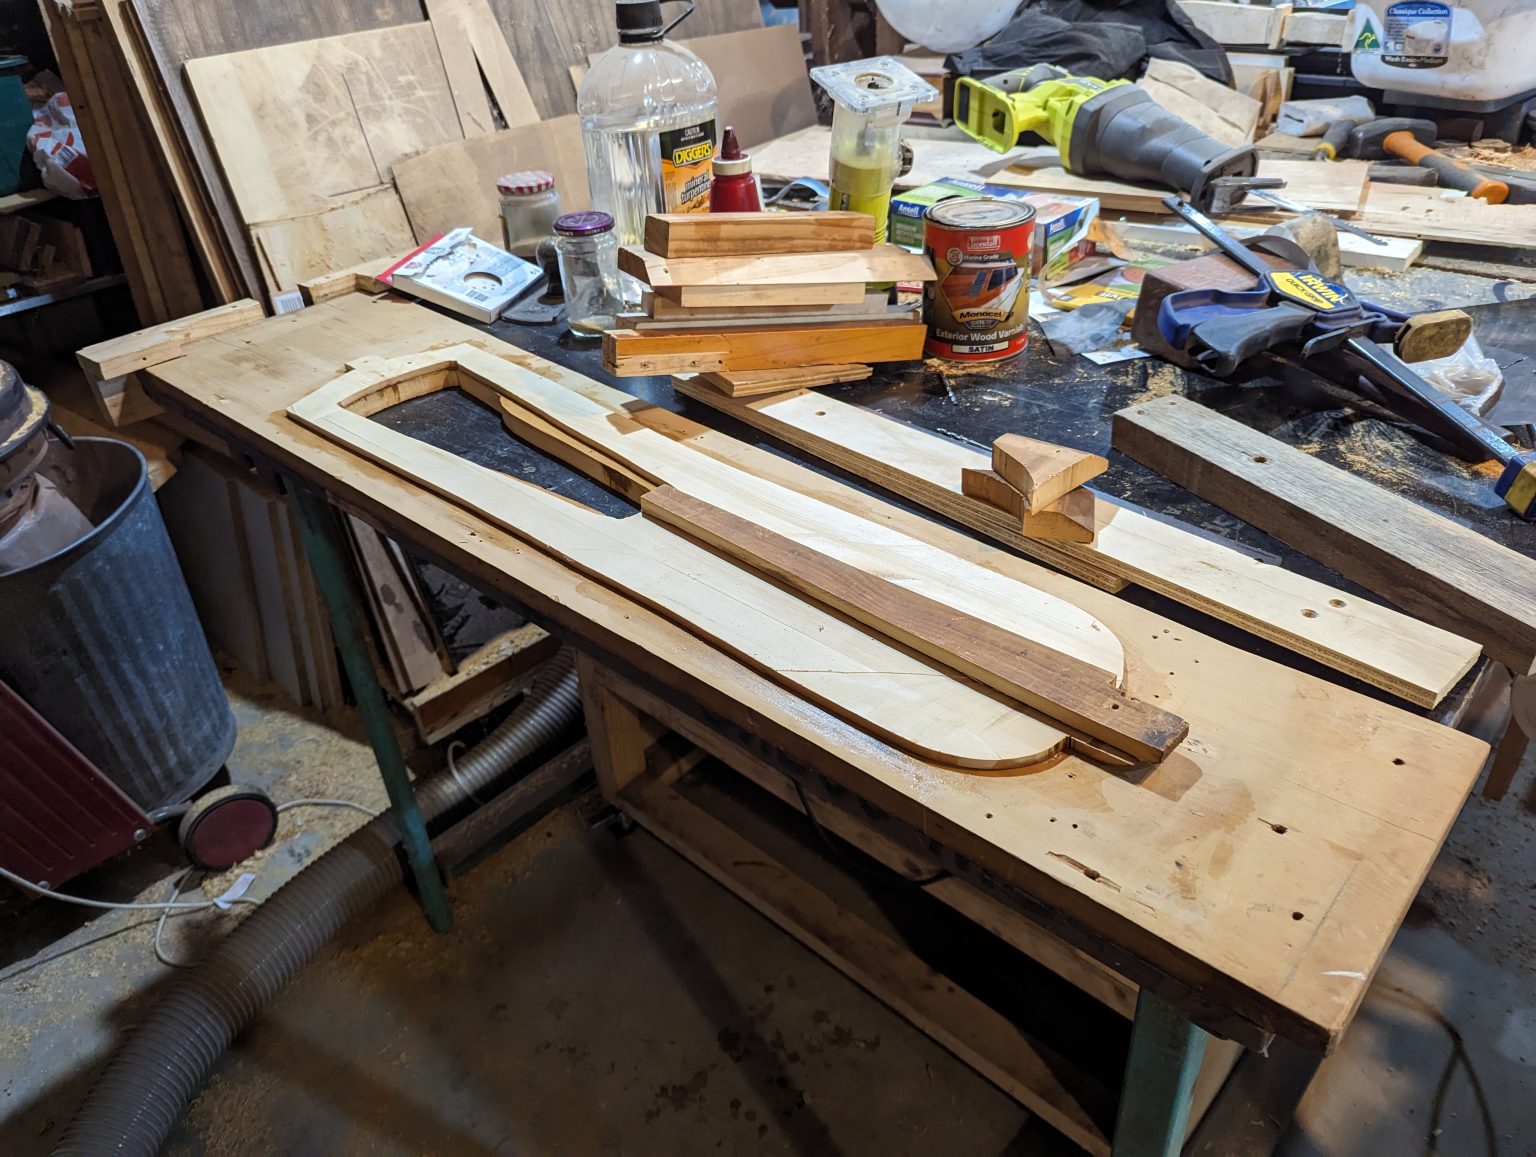
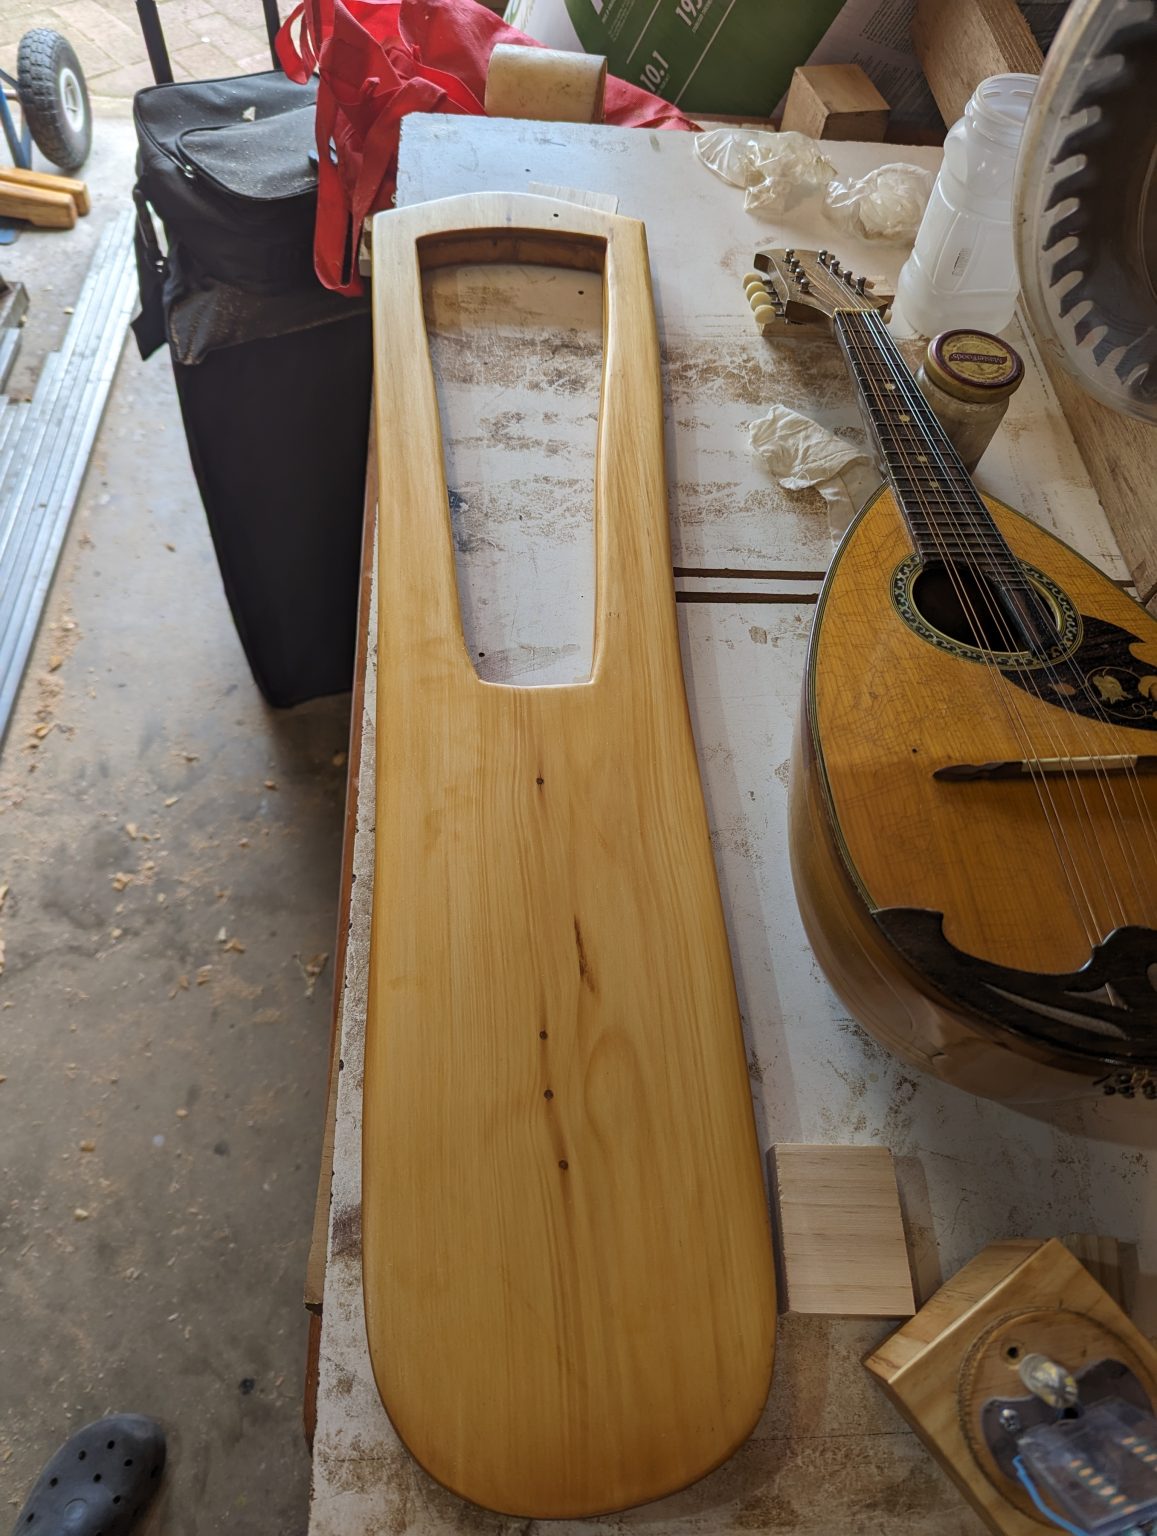
2 – Carving the Lute Segments
With creating my own planks failing, I need to switch tactics. I had some reclaimed oak from dismantled furniture. One of the planks was deep enough to be the base sans the laminated panel lid. This needed a design change to fit the materials that I had.
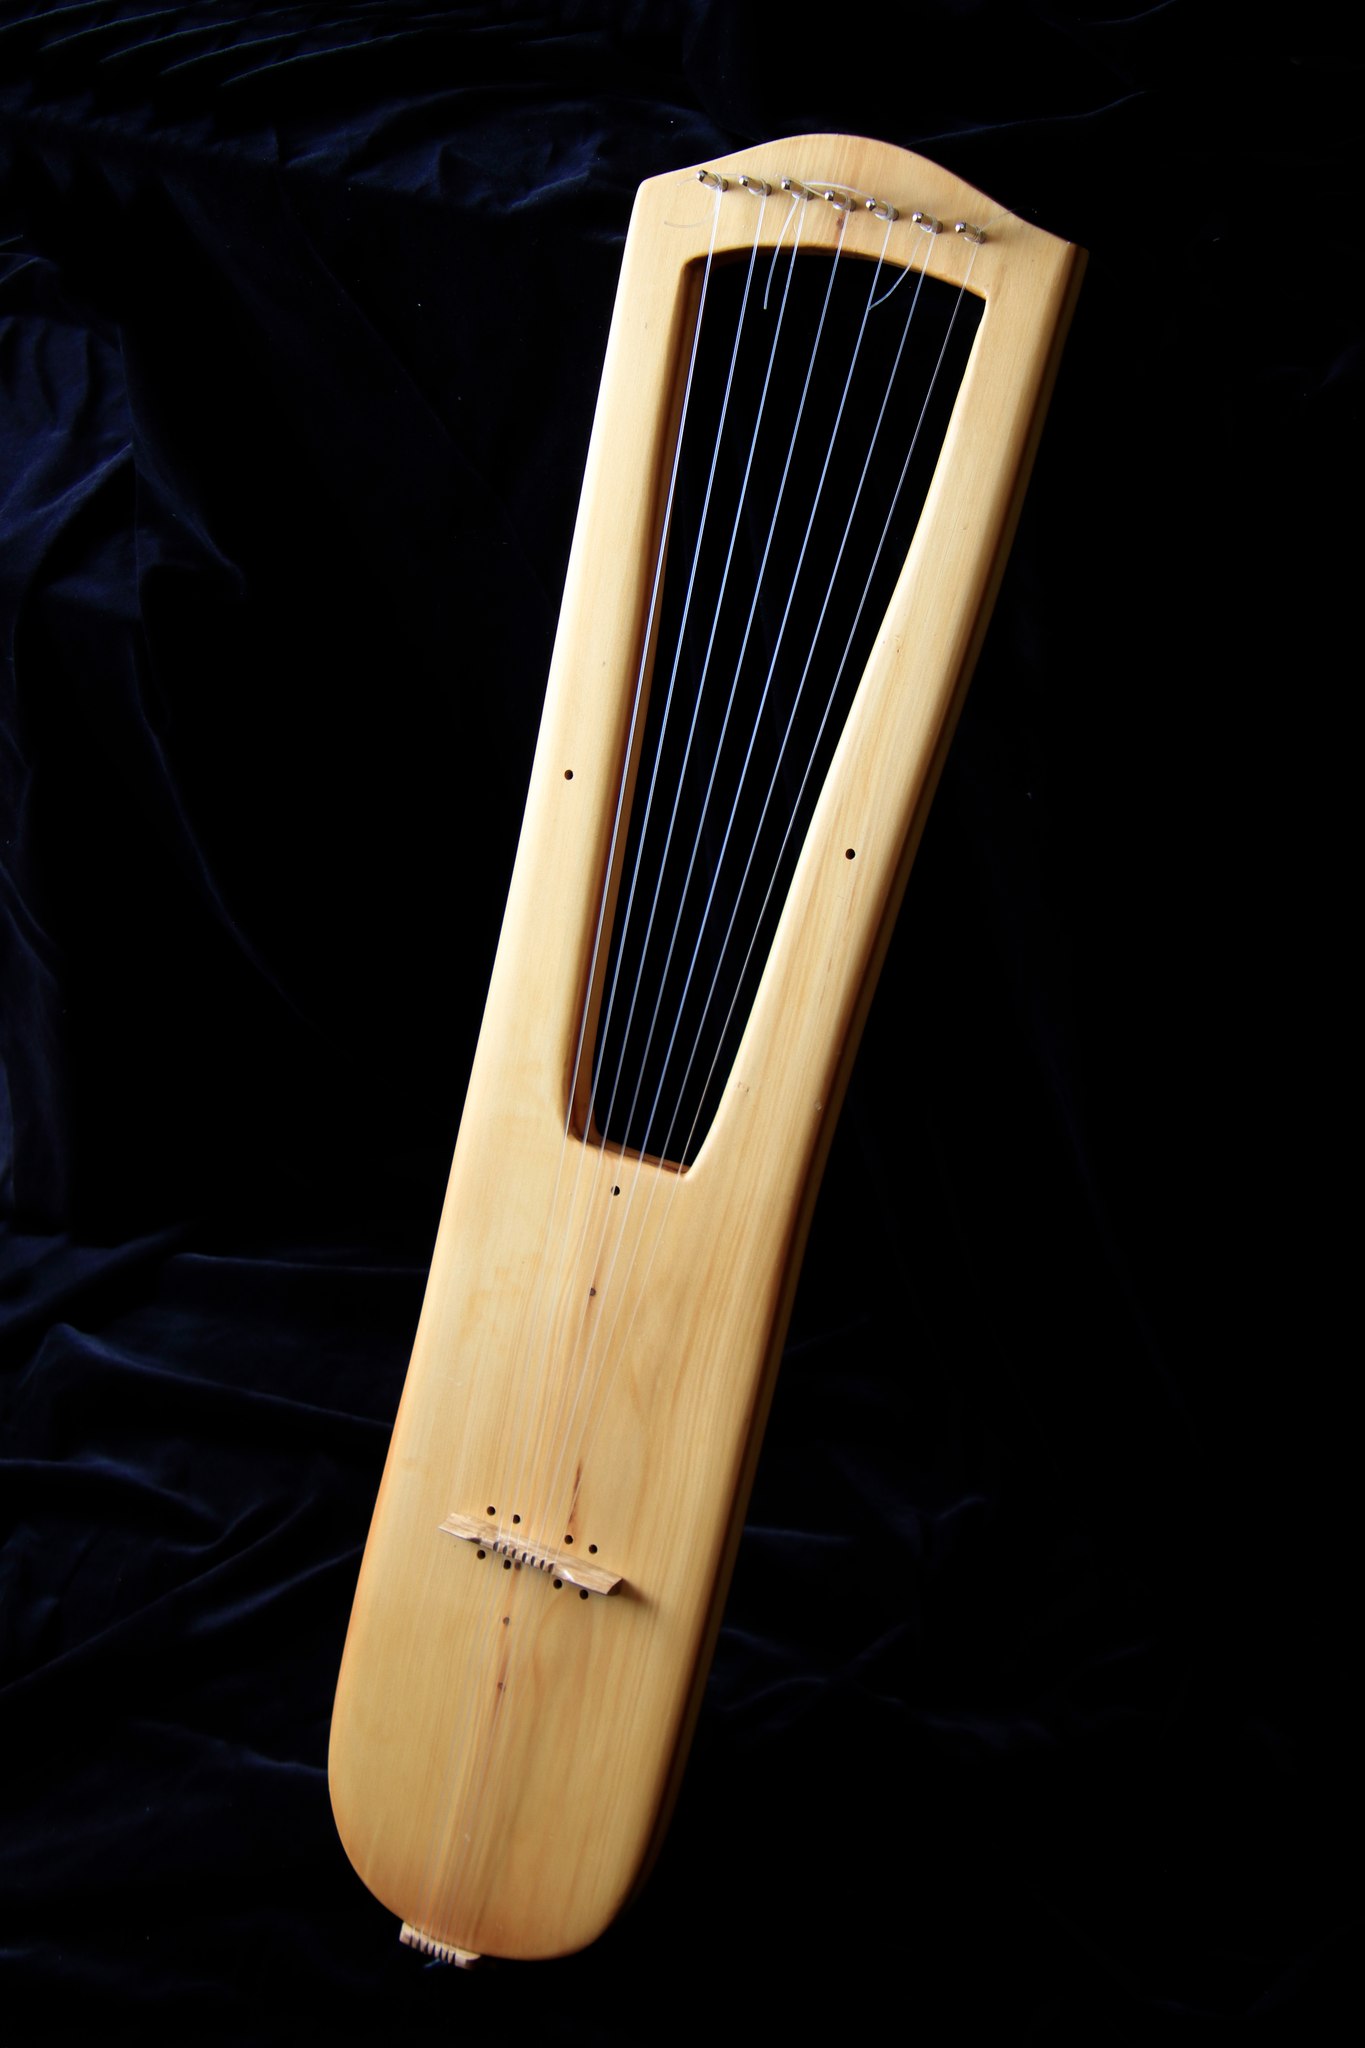
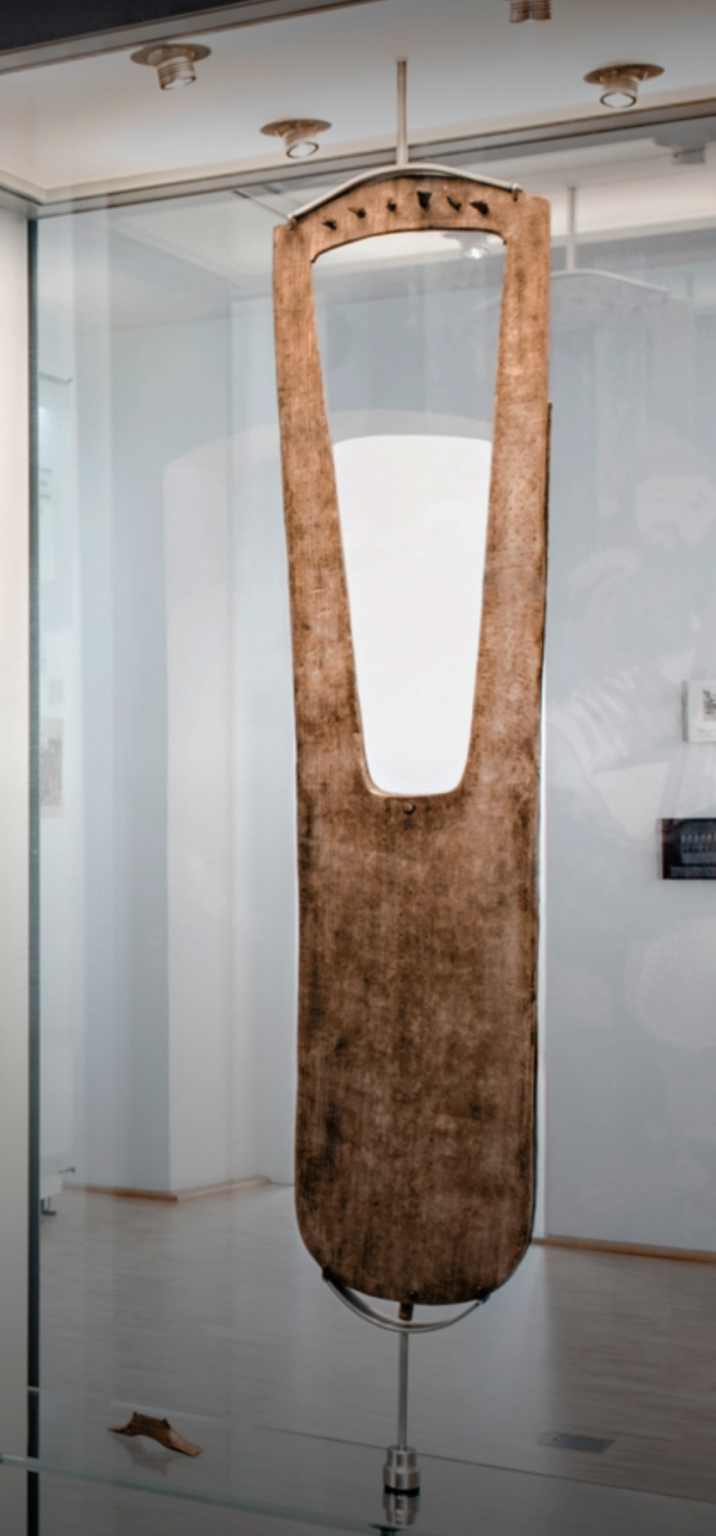
Using one of the photos of the extant Trossinger, I scaled it up to the height outlined by the State Museum of Baden-Württemberg in Konstanz. This was used as a template for the outline of the replica in my plan. From the wikipeadia page (german edition translated) “the lyre’s sound box had a total length of 803 mm, the greatest width at the yoke was 195 mm, and at the base of the crossbar it was 160 mm at the yoke”.
Using one plank, around 20 mm deep, I laid on the printout template, cut to the outlines, I pencilled the outline directly onto the board. I gave myslef an initial 10 mm inner boundary for the cavity section. I used an electric hand router to hog out most of the inner wood and used a hand plane to smooth out and micro adjust the depth. Overall, I made it too thin on the back wall, so I highly recommend that if you make one of these, you get no thinner than 3 mm in the centrte, and 4 mm towards the edges. I curved the transition between the horizontal and verticle to minimise the risk of cracking.
The cavity goes around 2/3 of the way up the arms. This was also based off the original Trossinger, where you can see the transition between the laminated lid and the base. Due to the change in my design, the lamination will go all the way to the head.

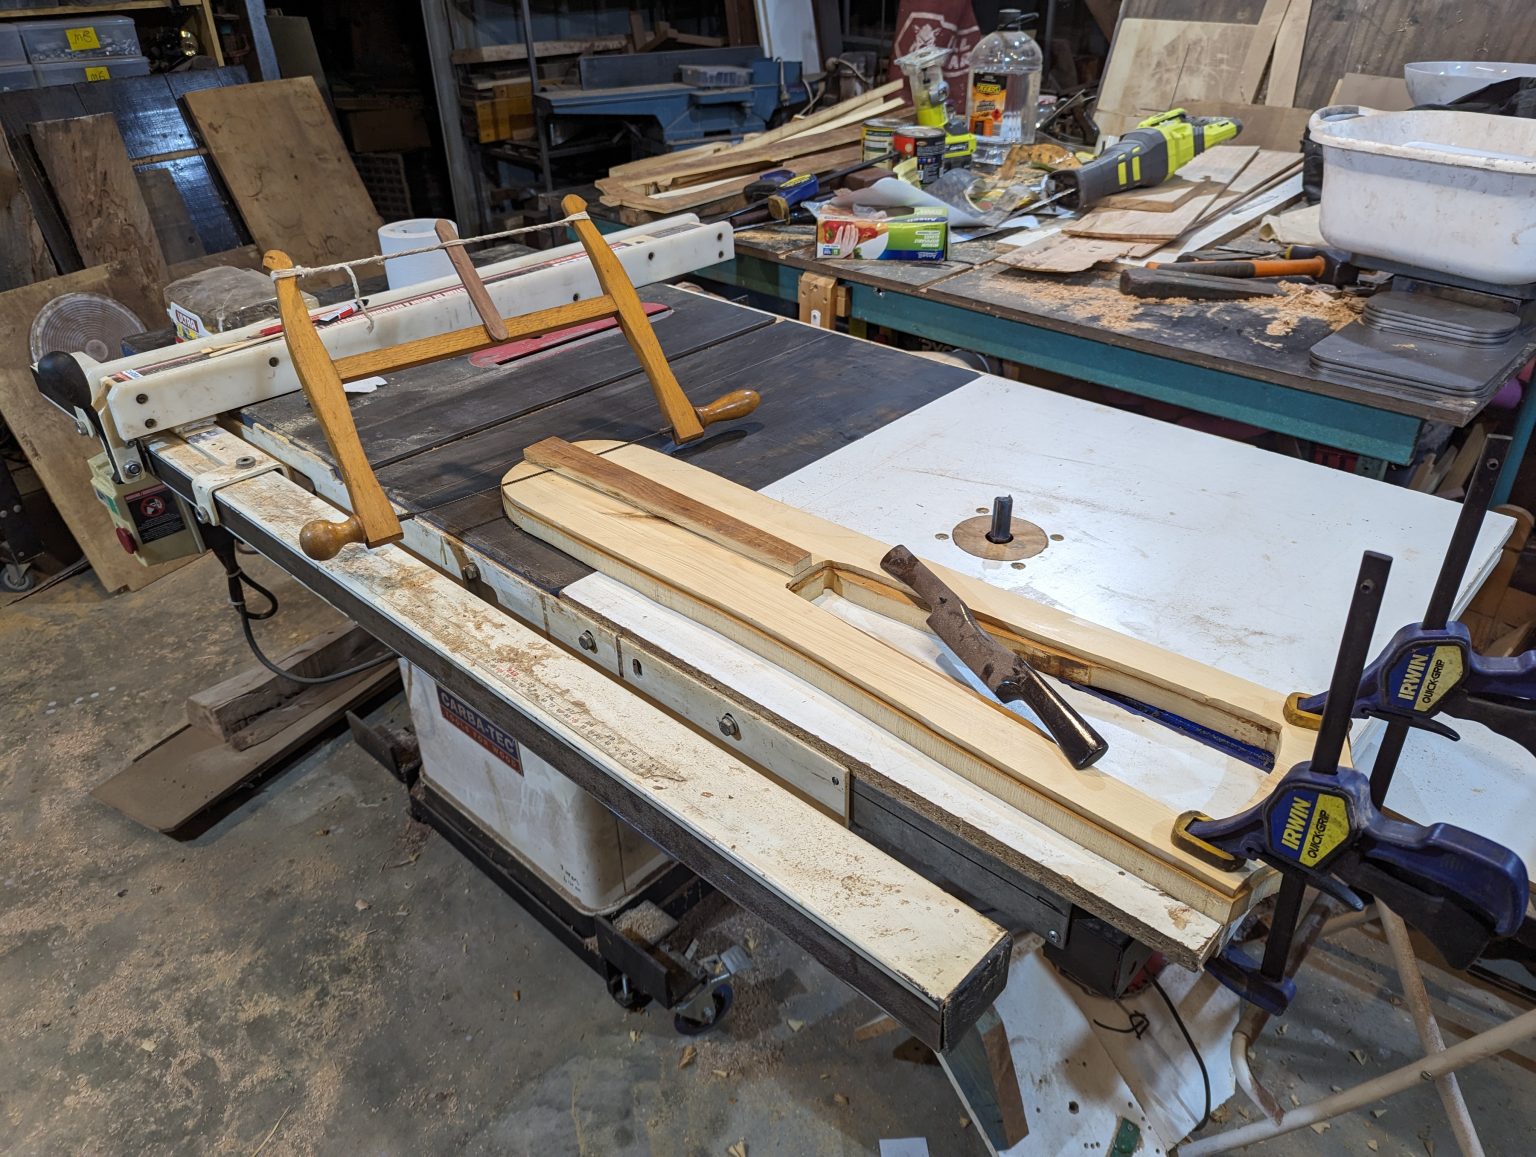
A second plank was carved out to the same target shape based on the template. This was taking the wood from outside the template guide, and the space between the arms and head. This was then thinned down to approximately 8 mm. The first picture on the left shows the bit of wood that was left over before I chiselled it off. I left 2 tabs, 1 at the top and 1 at the bottom, to affix this layer to the hollowed out base plank. This was glued into place with many weights and clamps to ensure a good join.
The outside excess wood was cut off and I had my laminated two layer lyre shape with a hollowed out soundbox. Shaping was done via a spoke shave, planes and sanding.
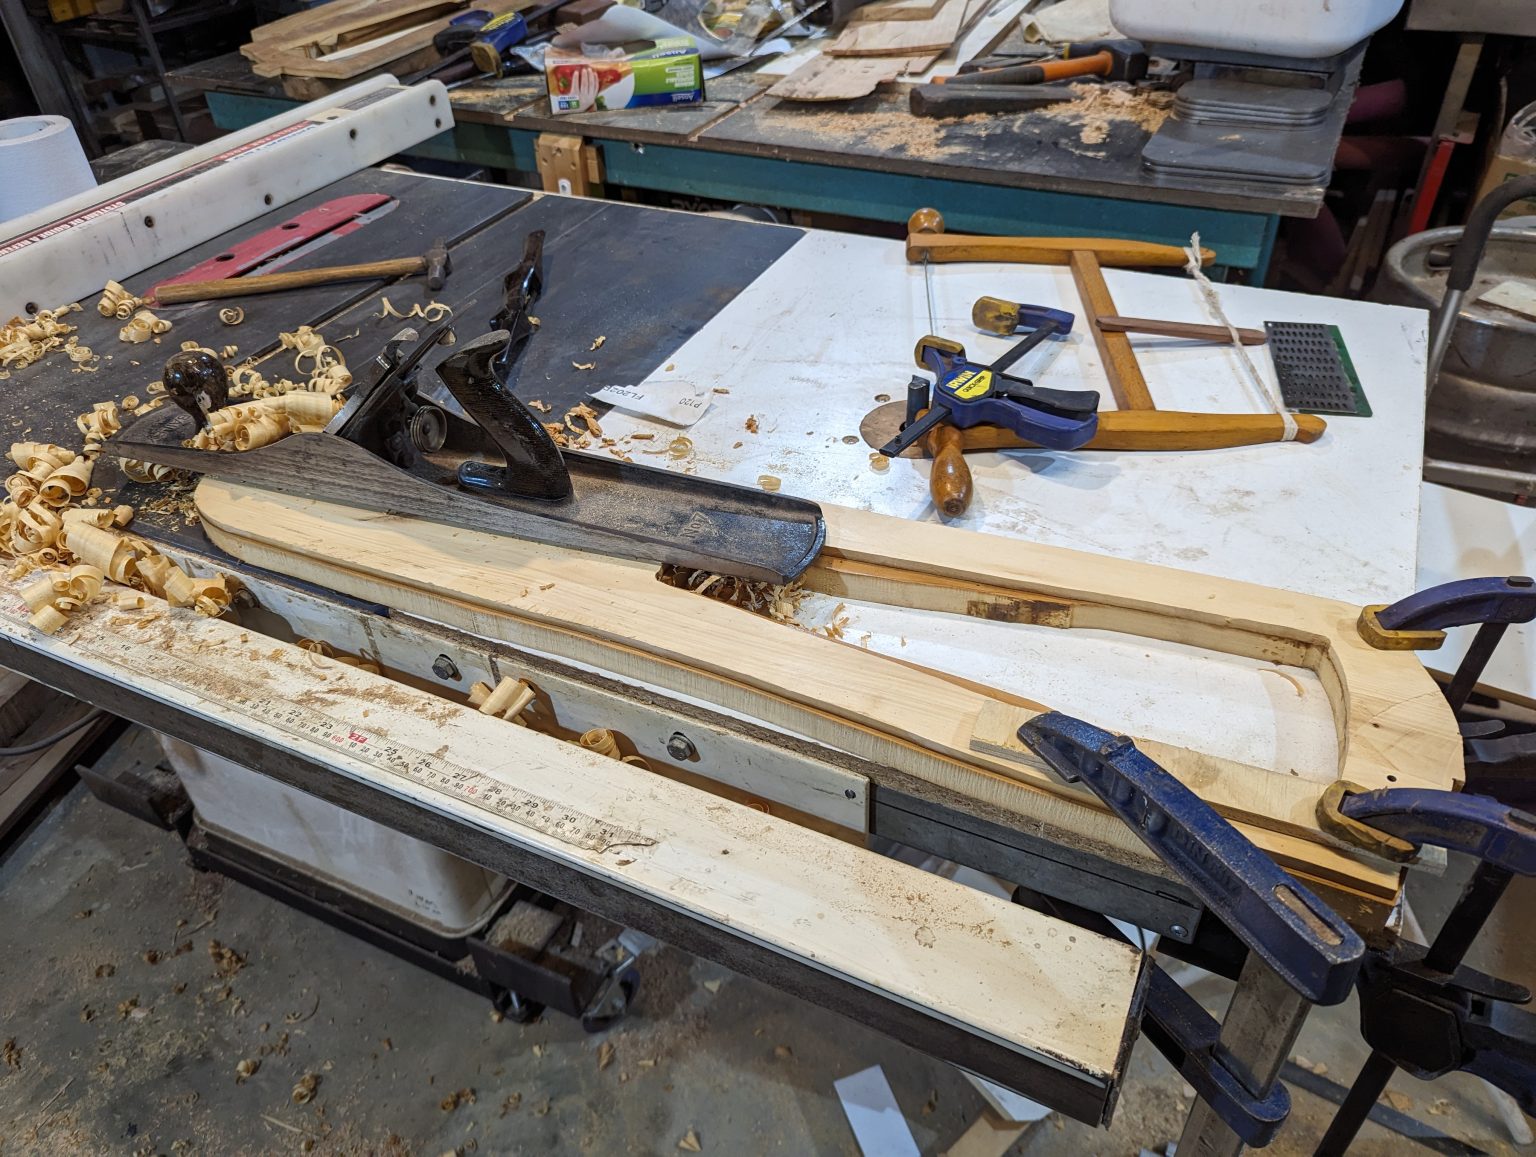
A few viuds beeded to be filled in from the original boards, even though I did try to avoid them. I absolutely love the colour once varnish was applied. I had hoped to use a more period finish, but with the having made the bottom too thin, I wanted to add strength by impregnating the wood with many coats of modern finish and build it outwards.
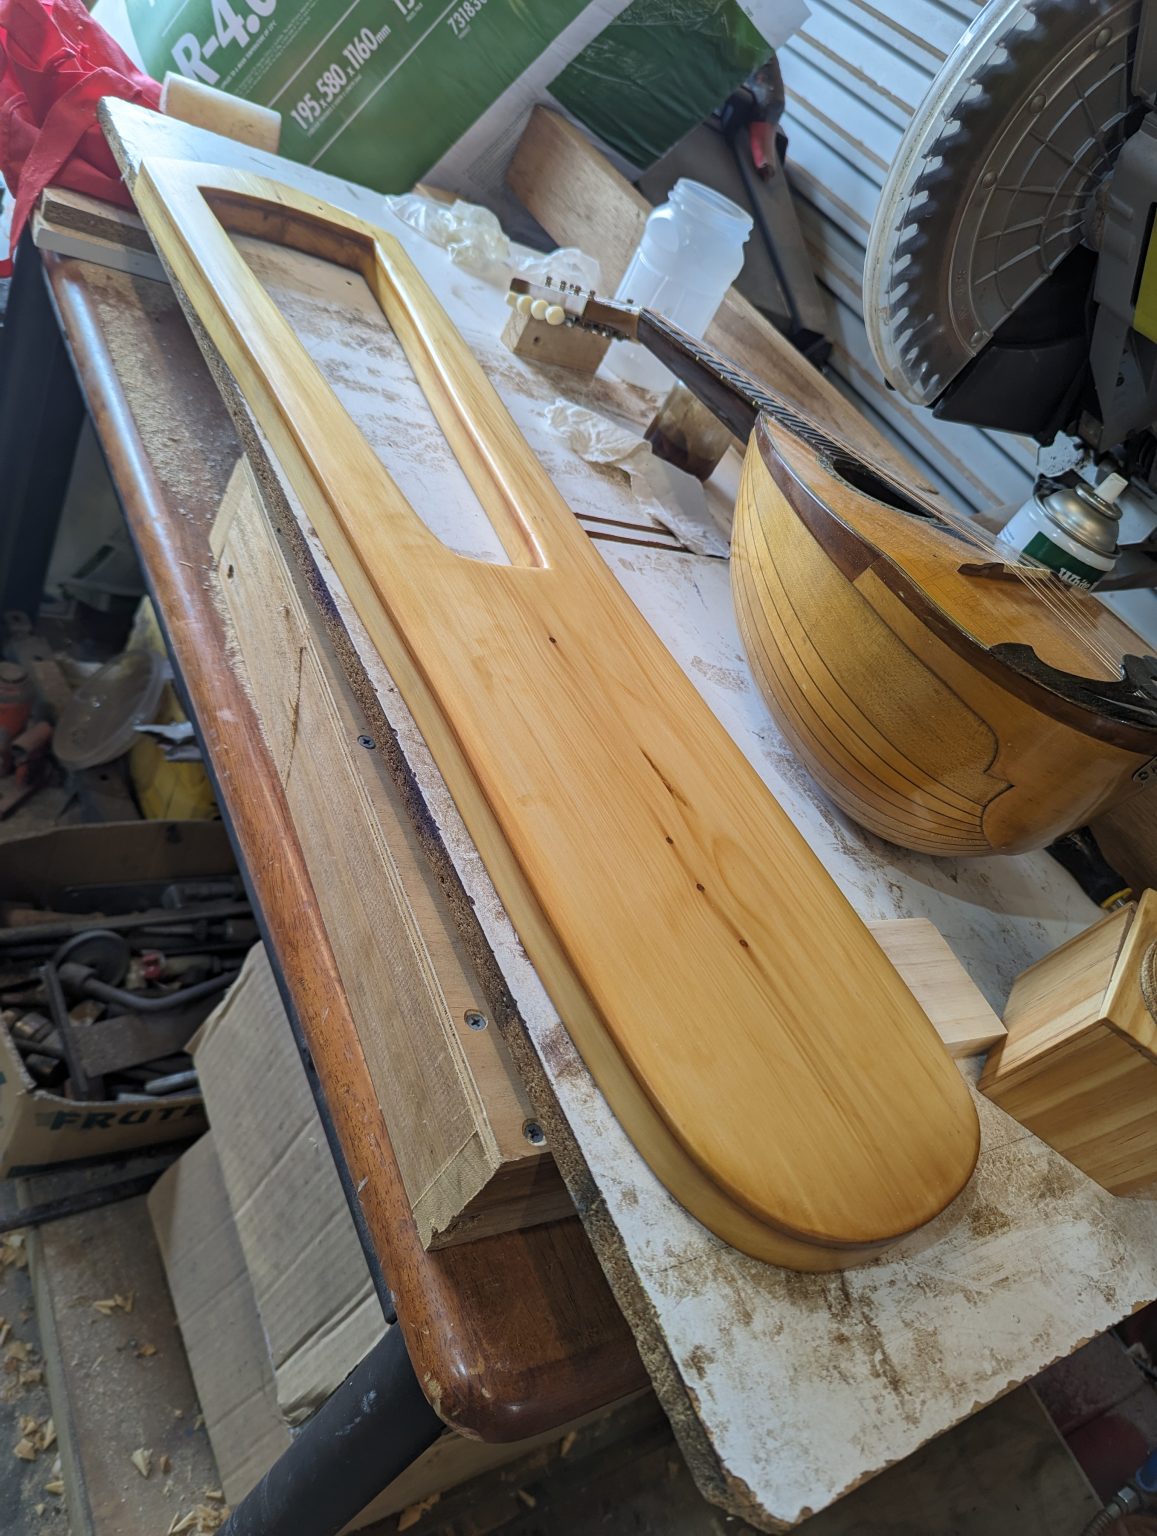
You can see a mandolin in these photos as I got my head around how the sound box best works and looking for inspiration for how the strings should be attached. We don’t know how that was done on the original extnant version. Some people use a floating stick to tie the strings to, some people have tied them all to a base peg and the third version I’ve seen is a similar method to the mandolin. I went with that version, creating an L shaped piece of wood with holes in it to hold the string. I shaped the L bracket to fit the base of this lute.
I created an A shaped bridge with 7 notches in it, like the original. I played around with the idea of how to get 2 strings off one peg so that I could have the 6 pegs as per the original and use all 7 notches, but elected to instead just add an additional peg for 7 separate strings.
Sound holes were made in the sound box, 8 mm diameter. 8 were distributed top and bottom of the bridge, 1 in the centre near the top of the main sound box where the strings pass over, and one at the top of each hollow in the arms. These locations were based off the original extant hole locations.
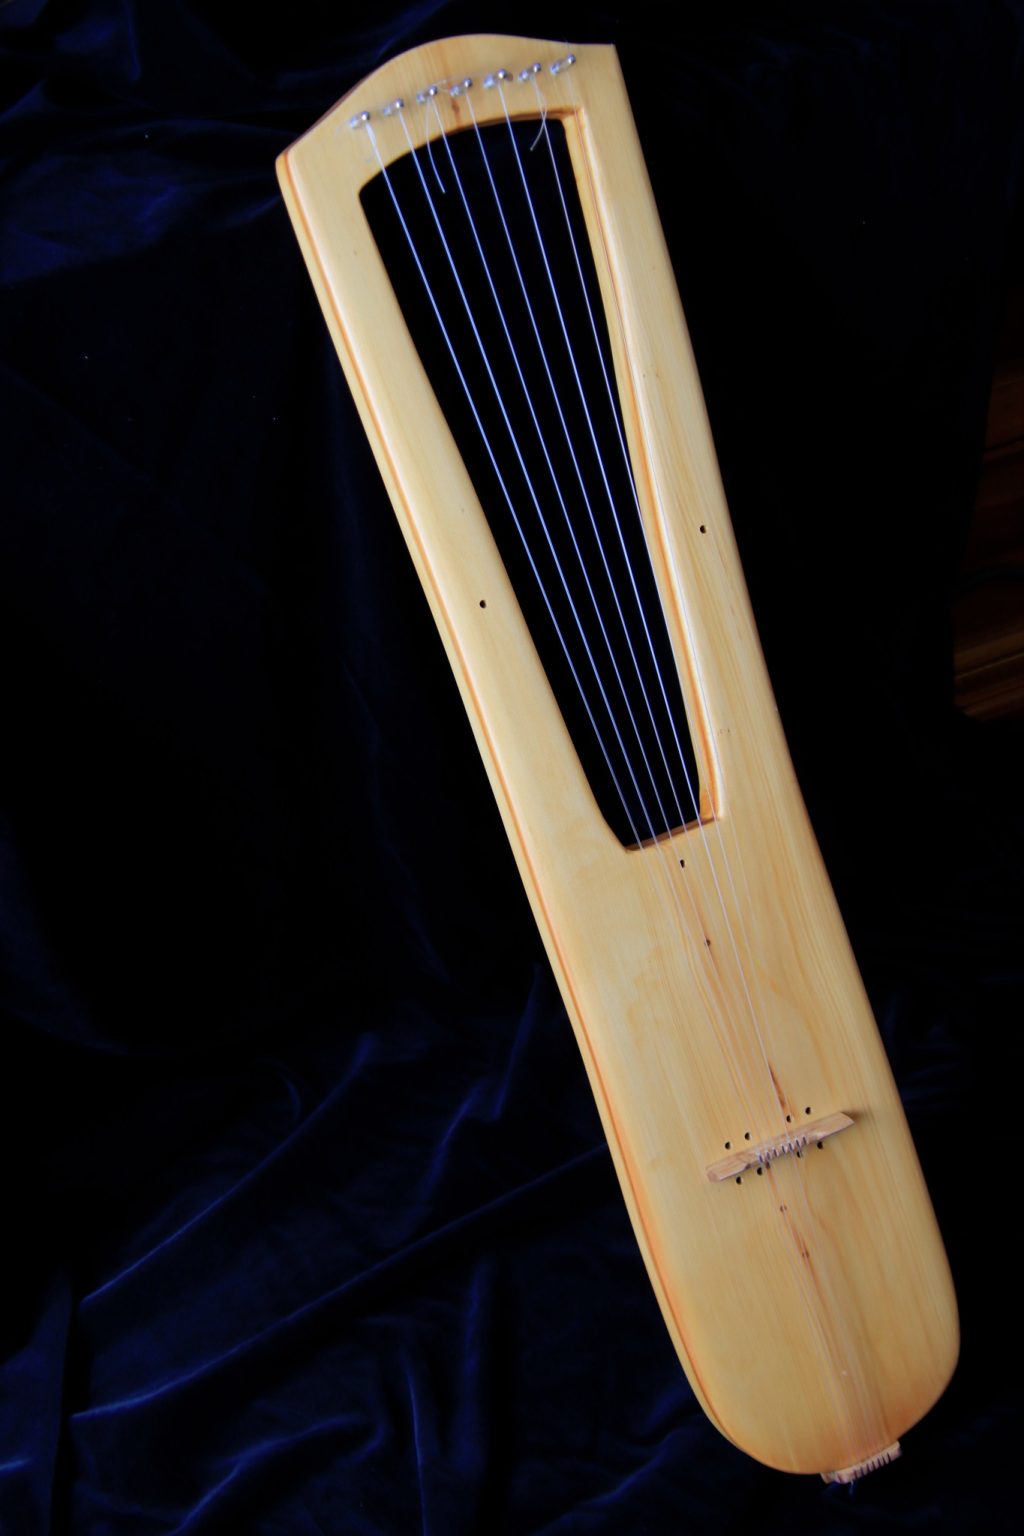
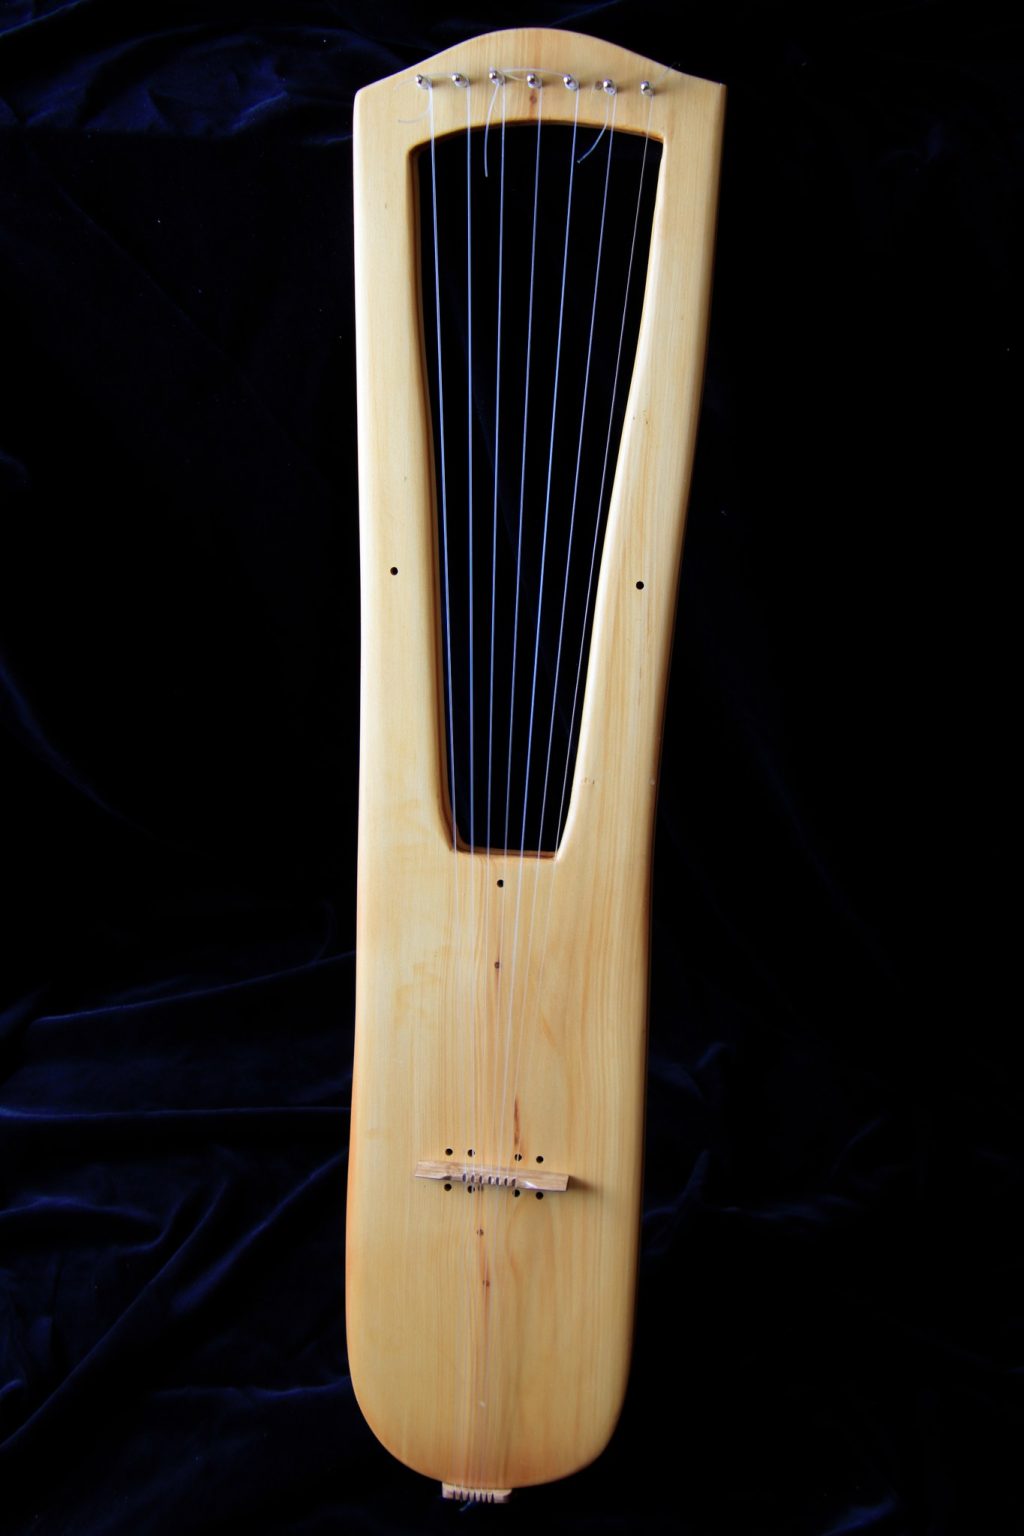

3 – Stringing The Lyre
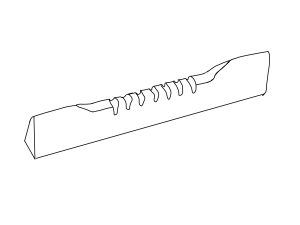
The bridge is located in the very centre of the sound box, between the neck cavity and the base. I created a bridge as per this drawing to place in the centre. Above and below the bridge I drilled 4 holes based on an average diametre from the extant Trossinger Lyre. These were placed in a similar location to the extant version, which likely had the bridge from the original placed there as well. I aimed for a mathematical average of the space between the hand hole and the base of the lyre, in the very centre.
I created 7 notches as per the bridge found with the extant Trossinger Lyre.
The strings are tied to the base. I created this base plate out of River Red Gum, where the upright is curved on the inside to match the curve of the lyre. It is connected to the lyre via a single modern counter sink screw. I will likely replace this with a more period method later. The plate is in a kind of L shape, where the upright is to the lyre and the bottom protrudes out. There are 7 holes cut into this as I intend to use all of the bridge. In our modern 8 note octave, 7 notes are useful to have all of the whole notes available. I used a classical guitar knot to tie the strings into place.
At the top of the Lyre are the tuning pegs.